


INSTALLING THE 5S EQUINE SOLE SUPPORT
Installing the 5S Sole Support System is simple and straight forward. It involves skills already familiar to the farrier. Application of the 5S System includes: preparing the hoof; mixing and applying the 5S Insole Putty; trimming the 5S Pad; fitting a regular shoe; and setting the shoe over the insole and pad.


Installation Procedures:
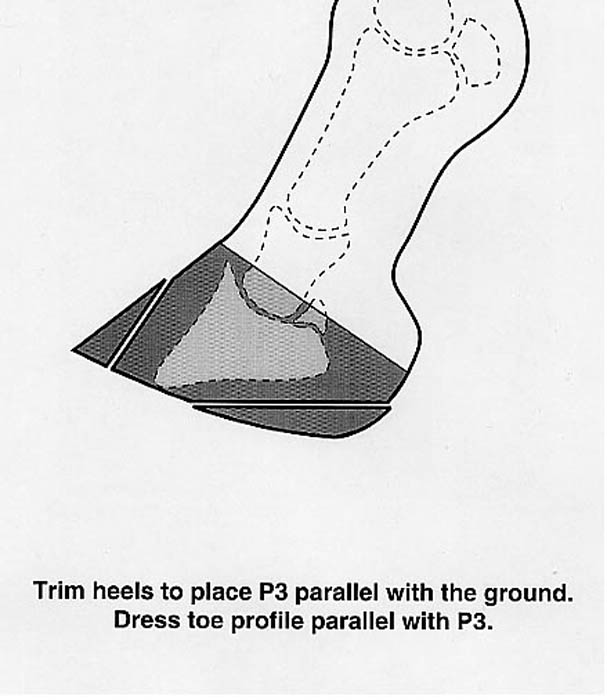
- Trim the hoof for normal shoeing. The target is to dress away hoof wall flares and back up the toe to where the normal profile should be, however, leave substantial wall to nail into. The normal toe profile target may not be achievable on the first few settings of the system. On a foundered hoof, avoid shortening the toe but lower the heels attempting to align the solar surface of P3 to be parallel with the ground. Leave the maximum amount of sole and bars as is practical. The sole and bars can be allowed to grow to be level with the ground surface of the hoof wall. Trim sparingly, but leave the frog tidy and the depressions around the frog open and clean.
- Shape the shoe to the hoof to provide normal coverage. With the Eliminator Pad, it is suggested to use shoe stock no thicker than ¼" to allow maximum clearance off the ground. With the Supporter Pad, 5/16" thick shoe stock works well. The farrier has the option of using any thickness of shoe to achieve the desired level of hoof wall vs. sole loading.
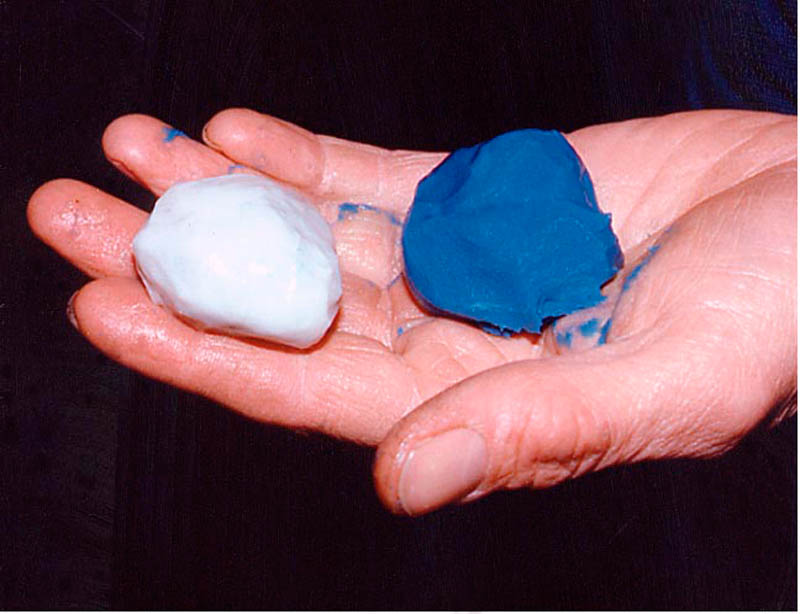
- Estimate the amount of Insole Putty required to slightly over fill the sole cavity in relation to the ground surface of the hoof wall. Measure out equal quantities of the putty colors. Roll each into a separate ball.
- Knead the putty balls together until they are a homogenous color (streak free). Mixing should be completed within 45 seconds.
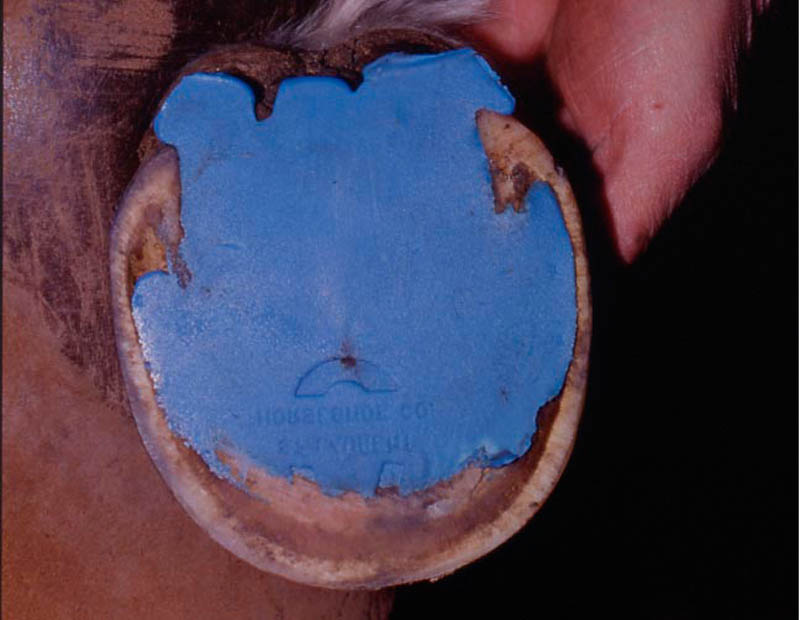
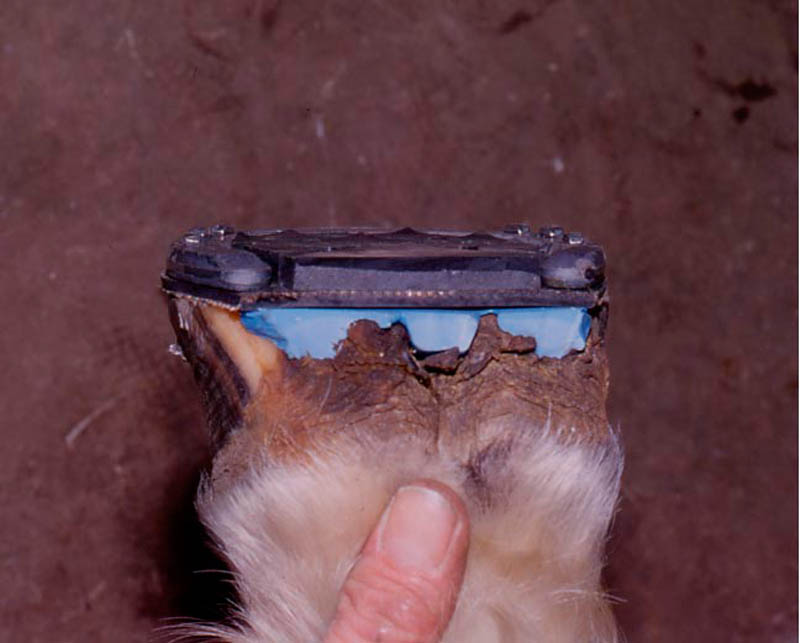
- Place the mixed putty into the hoof. Work the putty into all grooves and depressions of the hoof.
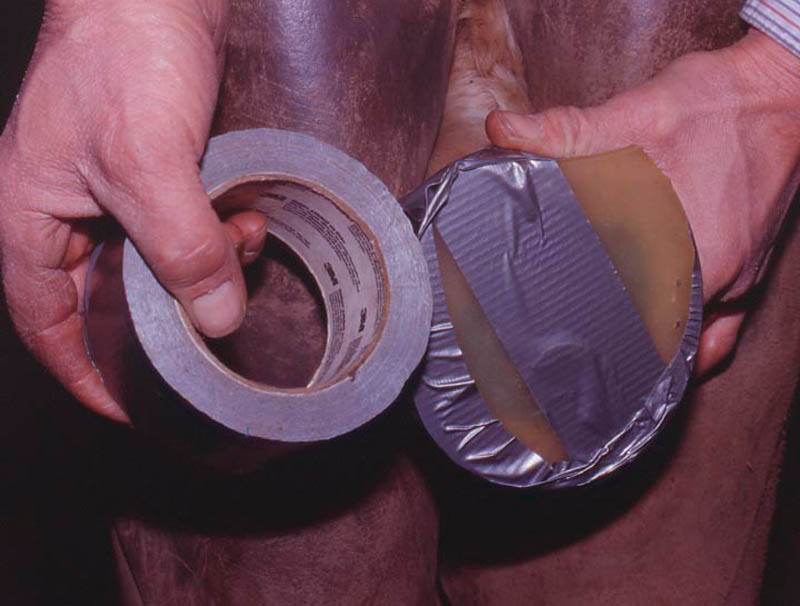
- Cover the putty with a temporary plastic hoof pad and tape in place using duct tape. The covering should be completed within approximately 2 minutes from the start of mixing the putty.
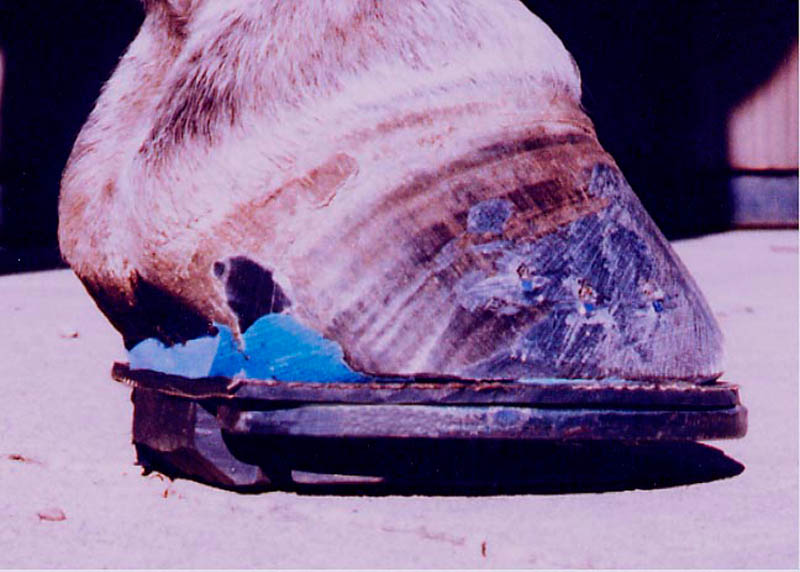
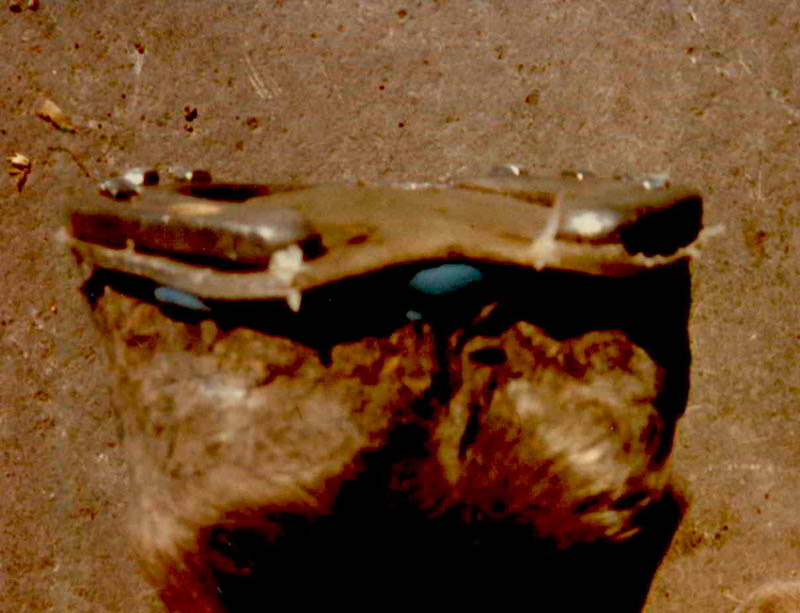
- Allow the horse to stand on concrete until the insole is cured. The horse should be bearing its weight through the hoof wall. Excess putty will squeeze out the heel. Do not allow direct pressure on the insole until the putty is fully cured. It is advisable to not pick up the opposing hoof during this time because the extra weight will cause more putty to be displaced out of the sole cavity. Curing time will be approximately 7 minutes from start of mix. The putty should be worked at room temperature. Higher temperatures will accelerate curing time and lower temperatures will retard curing time. In hot weather conditions, keep the putty in a cooler, and work with it away from direct sunlight. In cold weather conditions, keep the putty warm, and use a hot-air blow gun to warm the putty while it is curing in the hoof.
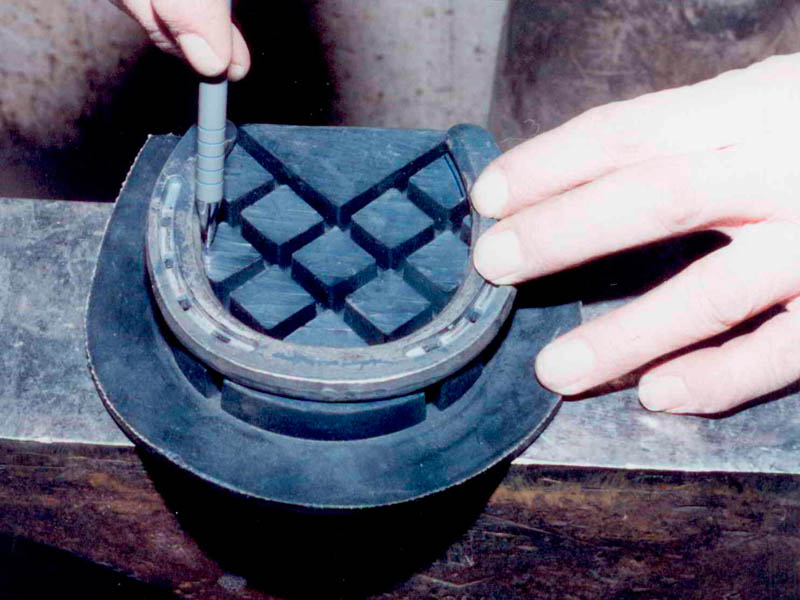
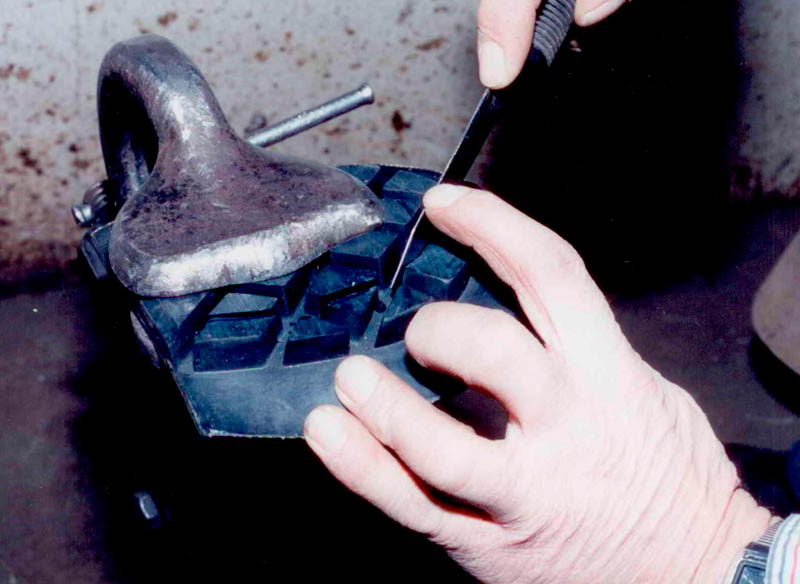
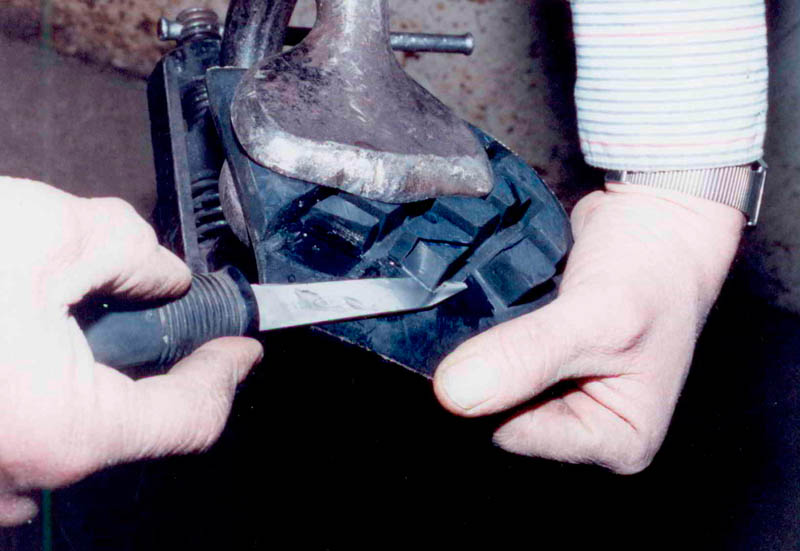
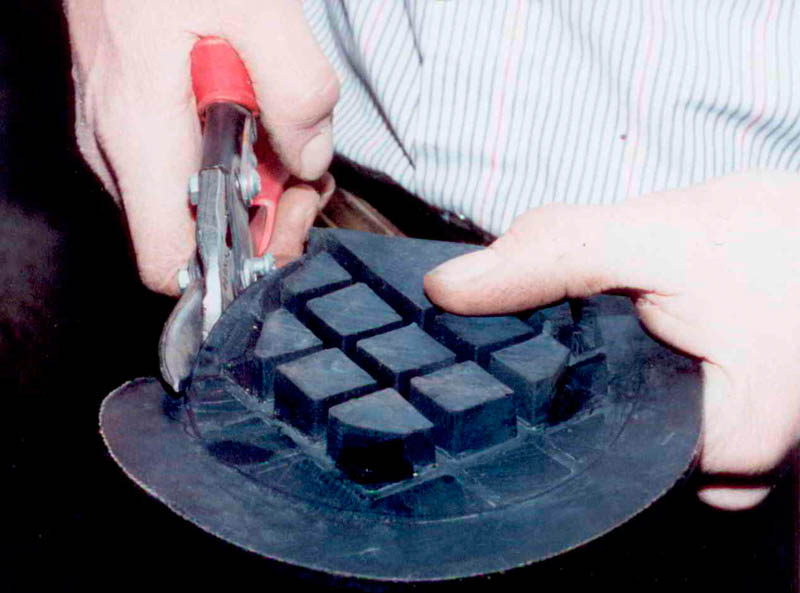
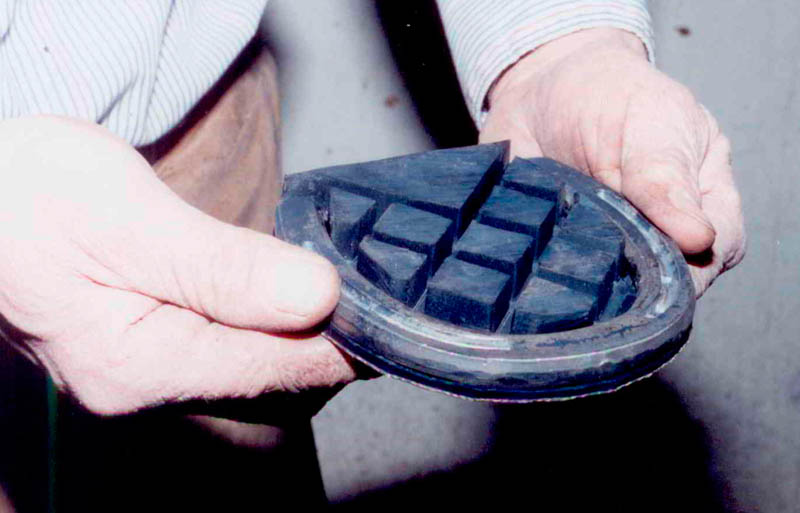
- Trim the 5S Eliminator or Supporter pad to fit with the shoe. This can be done while the insole is curing. Use a sharp, thin bladed knife and lubricate the cutting by dipping the knife in water.
- When the insole is completely cured, remove the plastic hoof pad cover.
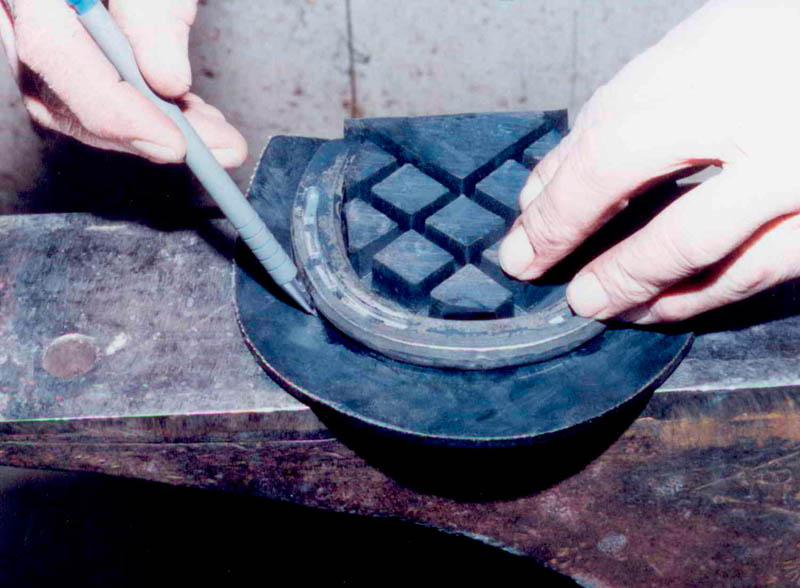
- Trim excess insole where necessary to allow the pad and shoe to seat firmly on the hoof wall.
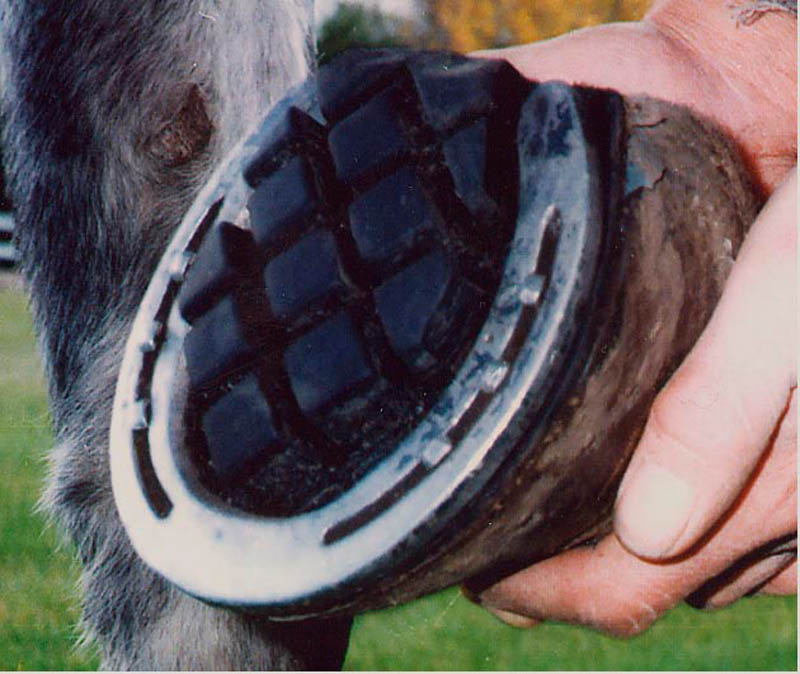
- Nail the shoe and pad to the hoof with the insole still in place.
- Reset at regular 4 to 5 week intervals to maintain the desired support. The shoes may come loose beyond 5 weeks.
The horse may resume regular movement immediately after the application is complete.
It is recommended to use a new insole with each resetting to avoid pressure points resulting from growth and changes in the sole surface.
Before installing the insole putty into the hoof, it is optional to sparingly place some commercial medicated hoof packing into the depths of the sulci crevices, especially at the apex of the frog. This will give a radius to the insole and minimize a pressure point in this area.
With some horses, the insole may work its way out of the solar cavity, over time. To prevent this, it is helpful to anchor it in place with a portion of plastic gutter-guard screen embedded into the putty and nailed in place between the hoof and the pad.
CHOOSING THE CORRECT LEVEL OF SOLE SUPPORT
The Farrier has several options of sole support to use. In consultation between the farrier, the owner and the veterinarian, consideration should be given to the severity of the case, the stage of progression of the case, the economic and sentimental value of the horse, the performance duties of the horse, the owner's ability and desire to manage the situation, and available ground conditions.


The choices of sole loading from minimum to maximum are:
- Horse shoe and hoof pad under the shoe. The shoe makes full contact with the ground thus virtually all the weight bearing load is through the hoof wall. The sole is protected from any ground contact by the pad and bears no load. This is useful on a temporary basis (one to three months) to enable healing of a bruised or injured sole or to manage snow ball issues. Over the long term, the entire solar area does not receive stimulation relative to the weight bearing process. Circulation within the hoof is reduced. The sole callous is thin. Heels may contract. Hoof wall show signs of overload.
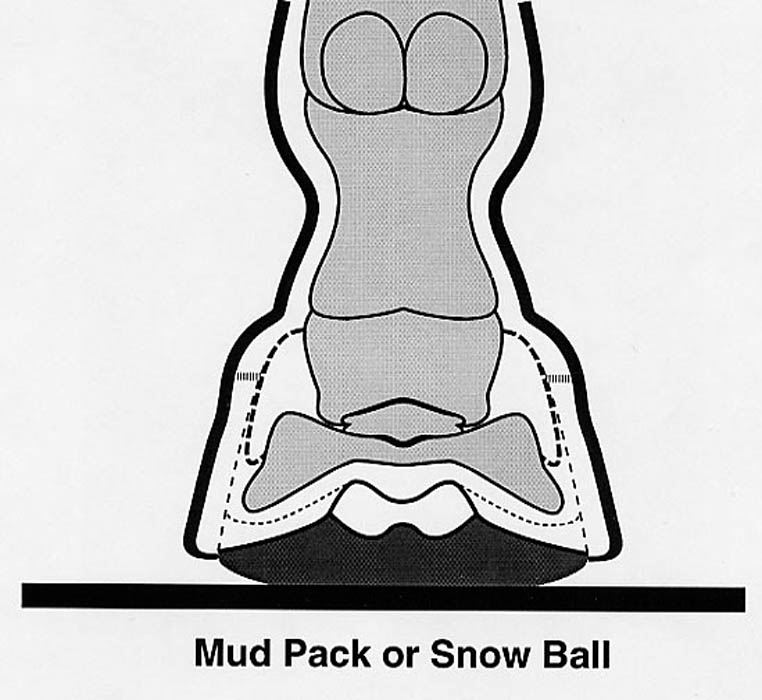
- Hoof shod with normal shoe. The shoe contacts the ground first. The wall takes the majority of the load most of the time. When the horse is traveling on soft conforming turf, some load is placed on the sole. When the sole packs in with mud-fiber or snow balls, the sole takes on a high percentage of the load some of the time. Because this scenario is used so extensively, it is assumed to be normal. Most good footed horses exist and achieve high performance levels. However, under more extreme environment and ground conditions the poorer quality hooves show signs of hoof wall overload.
- Normal pasture trim. The load is shared and fluctuates between the wall and the sole. The load can be high on the wall when on hard ground and alternately high on the sole when filled with a mud pack or snow ball. On soft turf the load is shared. This is the most normal situation and will promote a healthy resilient hoof. Trim the sole sparingly or not at all. Dress away the flares. Re-trim at 4 to 5 week intervals. For best results, provide varied ground conditions from soft to hard and dry to moist.
- "5S Short Wall Trim". The majority of the load is on the sole most of the time. Trim the walls shorter than the ground surface of the sole. Do not trim the sole. Provide dry, soft, conforming ground such as grass turf, loam, sand, sawdust or snow. Re-trim at 4 to 5 week intervals.
- 5S Insole putty used as packing under a normal pad and a thin shoe. On soft turf, 20% to 40% of the load can be transferred through the sole without pressure points. This enables some level of sole stimulation and circulation.
- 5S Insole putty temporarily taped in place with a plastic pad, following a normal pasture trim. The load is shared and cushioned. This enables situation observation, medication and adjustment.
- 5S Sole Support System using the Supporter pad. The load is shared and cushioned, on a long term basis, regardless of ground conditions. Reset at 4 to 5 week intervals.
- 5S Sole Support System using the Eliminator pad. The majority of the load is on the sole, on a continuous basis, regardless of ground conditions. Reset at 4 to 5 week intervals.
WHEN TO USE SIMPLE TRIMMING METHODS
Consider using simple trimming methods when the case is simple and/or not severe, when the hoof has a healthy prolific sole callous, and when the ground conditions are soft and dry. The horse may not need to be laid off work. "Keep it simple". Often a simple but proper trim will prove to be just as effective as the more complicated support system. The horse owner and/or the vet may be able to remove the existing shoes and perform a rudimentary trim as first aid for laminitis cases.
WHEN TO USE THE 5S SOLE SUPPORT SYSTEM
Consider using the 5S Sole Support System when the case is more complicated, when the hoof has a thin tender sole, when the ground conditions are not favorable, and when it is desirable to maximize performance.
WHEN TO USE THE 5S INSOLE
The 5S Insole is necessary to distribute the load over the complete surfaces of the sole area when using either the Eliminator or Supporter pad. Use the Insole to load the sole as a first aid when laminitis symptoms first appear. When the horse is sick and laminitis is anticipated, load the sole even before initial lameness symptoms to prevent the foot from foundering. The Insole can be used as an alternative hoof packing under any pad when sole loading is advantageous. It provides cushioned sole support which is especially helpful when dealing with poor quality, thin soled, weak walled hooves.
WHEN TO USE 5S SUPPORTER PAD
Use the 5S Supporter pad as a first aid procedure to prevent an eminent laminitis case from foundering. Use the Supporter pad as a tool in the treatment of acute laminitis cases. Use the Supporter pad when treating toe cracks, quarter cracks, dished profile, flares, thin walls, shelly weak walls, slow wall growth, under-run heels, flat feet, and thin soles. It usually will be possible for the horse to continue performance during treatment of these ailments. Use the Supporter pad on cases of chronic founder and hoofwall cracks when the horse is uncomfortable with the Eliminator pad. Use the Supporter pad as a follow up on chronic cases which were initially treated with the Eliminator pad. Use the Supporter pad to maintain the improved condition of known poor quality hooves. Use the Supporter pad on the hoof of the good support limb during recuperation following surgery or injury of the opposing limb.
WHEN TO USE 5S ELIMINATOR PAD
Use the 5S Eliminator as a first aid for laminitis at or preferable before the first appearance of founder symptoms. Note: The 5S Eliminators are not recommended for treatment of acute laminitis cases. Given the inflamed condition of the entire hoof, the sole may not be able to handle the entire load. Use the Eliminator pad to unload the wall when reclaiming chronic founder cases and chronic cases of hoof wall cracks. Note: when the sole is carrying the complete load, as with the Eliminator pad, it is recommended that the horse be laid off of work for the duration of treatment.